
 Jane and John's RV pages
We add a roof top AC unit
Page 4
Back to page 1 | page 2 | page 3
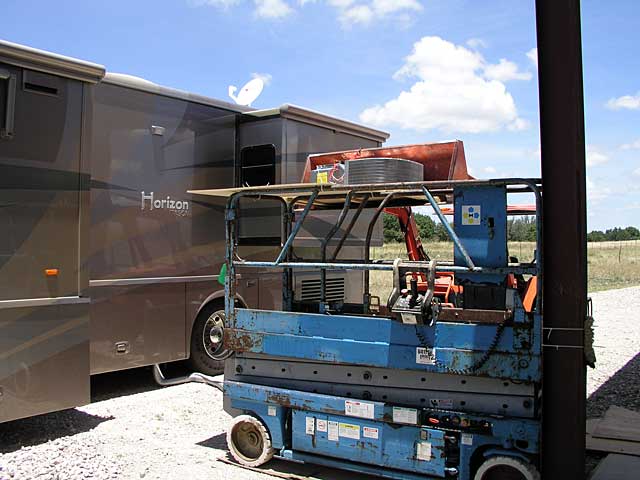
I zip-tied a plywood platform to the Genie lift rails, then raised the AC unit to the platform with my Kubota loader
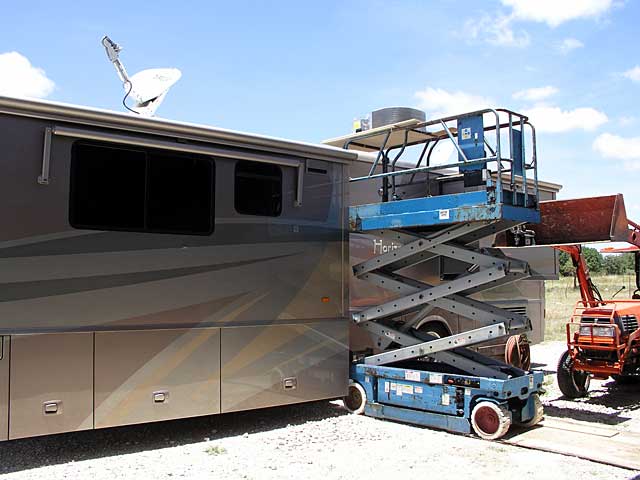
Now the AC unit is at roof level
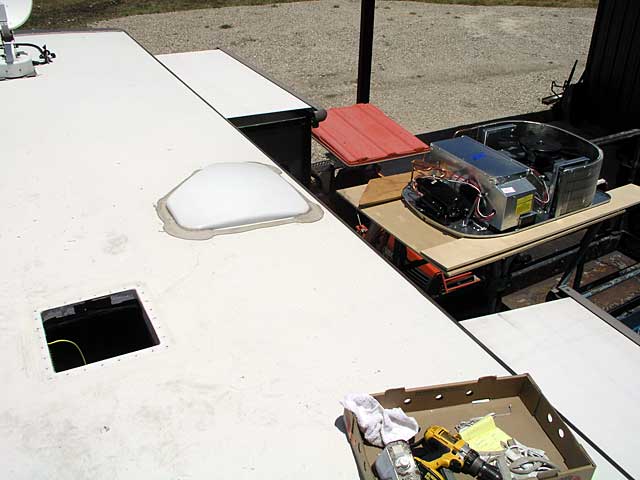
The 14" x 14" opening has been scraped with a razor and cleaned with acetone. We're ready to scoot the AC unit in place (use a thick blanket AND gloves)
The roof unit is in place, the mounting frame is bolted to the roof unit and the bolts tightened until the gasket is compressed to where the indicator tabs are touching the roof line
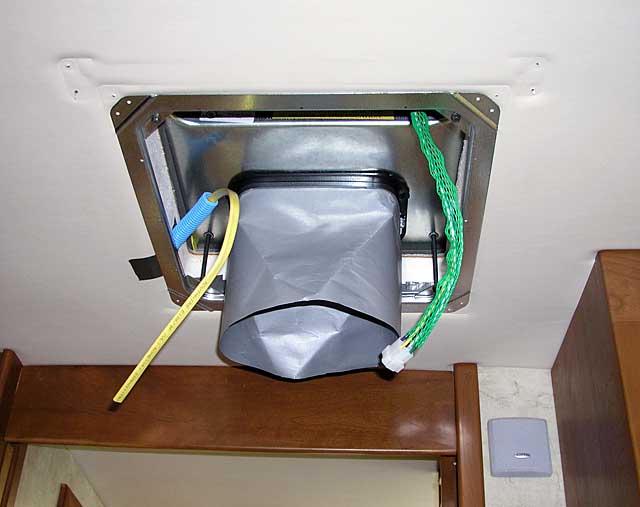
Install the duct collar next. Notice I added a little piece of blue flex conduit to keep the wire from rubbing against the frame
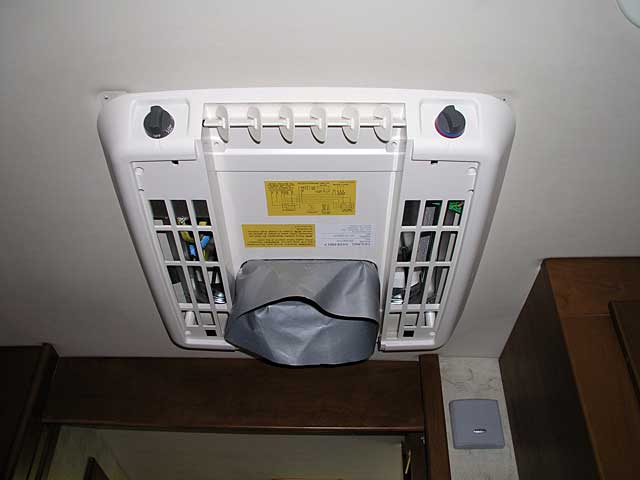
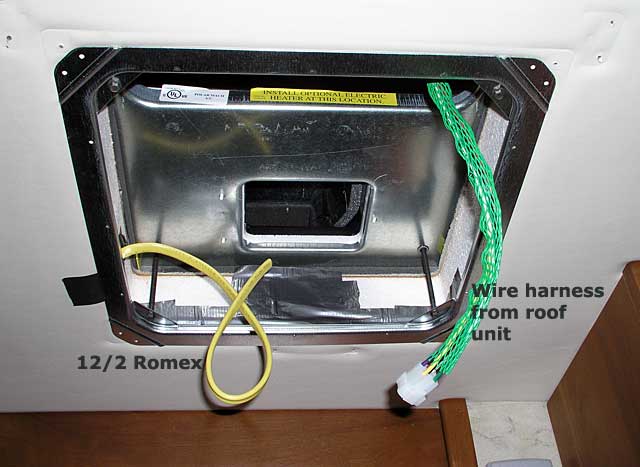
Install the ceiling assembly - connect the 12/2 wire to the appropriate place in the ceiling assembly, plug in the wiring harness and screw the assembly to the metal mounting frame (line up/install the rear screws first, you can't see the forward ones.) It will be much easier if you have a helper for this step!
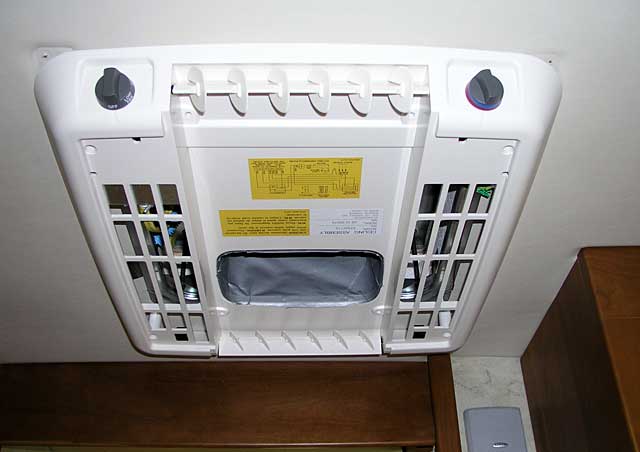
Trim the duct collar, and peel the adhesive backer from the opening and stick the collar to the sticky tape. Install the filter covers
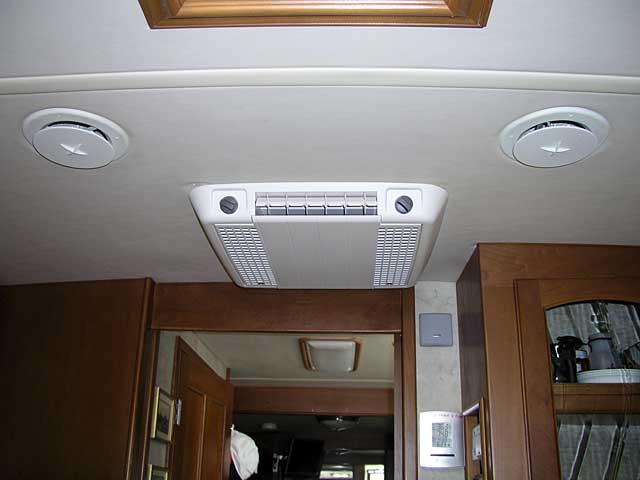
All done! Enjoy

Satisfied customers!