
 Jane and John's RV pages
We go green! 290 watts of Zamp solar panels installed
Installation - tools, supplies required, job start
You might need more or less tools than I used, but here's my list of the major ones:
Cordless drill
Cordless driver drill
Cordless right angle drill
Long 1/8" drill bit to probe through the roof
Long 7/16" or 1/2" drill bit for the roof cable hole (for 8 gauge cable)
1/2" hole saw
Crimpers, wire cutters
Screwdrivers
Fish (coat hangar, or whatever)
Multimeter
Caulk gun
Rope or tie-down strap webbing (or whatever) to hoist panels to the roof (unless you have access to a lift!)
Pencil, measuring tape (to offset the panels the same distance front/back to the side of the roof)
Supplies required for two panels:
Three or four tubes of Dicor (self leveling roof caulk/sealant)
Bag of 50 #14-1.25" pan head stainless
screws (from Fastenal)
16 each 5/16"-3/4" hex head stainless bolt (I didn't use the included ferrous 1/4" panel hardware)
32 each 5/16" stainless washers
16 each 5/16" stainless locknuts
2 each #8-1.5" pan head sheet metal screws (for mounting the charge controller)
A dozen or so #8-3/4" stainless pan head screws for the cable clamps and CE-2000 plate
Cable clamps (3/8" and 1/2")
6'-12' of split wire loom (to cover/protect 8 gauge cable inside/outside the RV where appropriate)
Electrical tape
Duct or packing tape
Lacquer thinner, rags (to clean the panel mounting feet areas on roof in preparation for the Dicor and to clean up tools - Dicor makes a mess)
All required wiring, 30 amp circuit breakers and solderless terminals/splices were included if you buy the kit
Winegard CE-2000 cable entrance plate - covers up the hole in the roof (I bought mine from here)
Working on the roof can be brutal in the summer, so sunglasses, a large hat, long sleeve white shirt and long pants (and good non-slip shoes) should be considered. If you are unsteady on a ladder or working on a roof, this is not the DIY project for you. As another caution, be very careful when quickly rising from a sitting/kneeling to a standing position - you could get dizzy and lose your balance. Yes, I got dizzy a couple of times but quickly realized the situation and recovered.
Let's start the job!
First, unpack and inspect what the nice people sent you
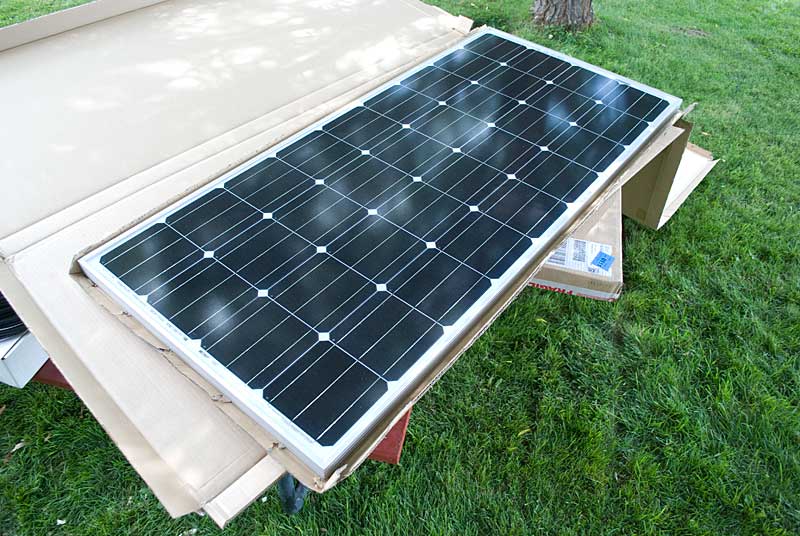
Unpack the panels and inspect for damage. Save the cardboard - you will need it for later! I also measured the output voltage of the panels for an electrical test. I got about 19V output with the panels in mostly shade which told me the panels are okay. You might measure more or less voltage - the point here is to be sure the panels are putting out something.
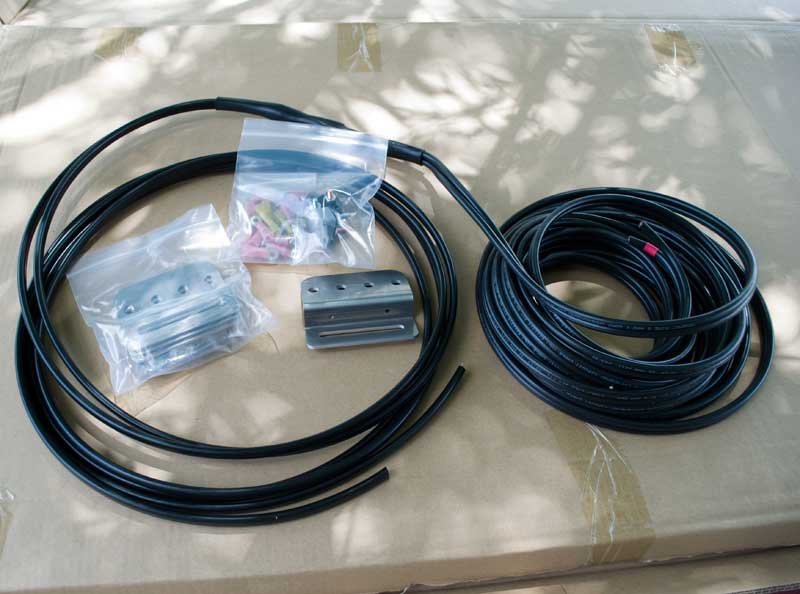
While you're unpacking stuff, take an inventory of the small parts and wiring (assuming you bought the installation kit which I HIGHLY recommend!) Buying the install kit saved me a bunch of time and the wiring is all ready to go for the two panels (two smaller gauge cables connected to one 8 gauge cable.)
You've done a thorough planning job, you have all of your tools and supplies ready, and you have nice weather, so let's get started with the fun!
Preparation of the panels:
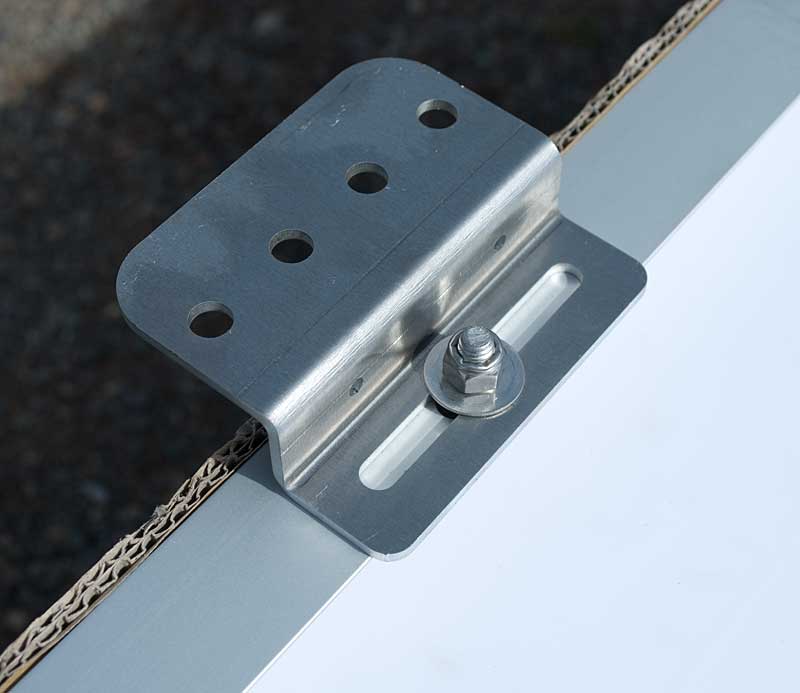
Install four mounting feet to each panel. For ours I used 5/16" by 3/4" stainless hex bolts with stainless washers (on both sides) and locknuts. I bolted the brackets as shown above. Just get them close to square with the panel frame - alignment isn't real critical.
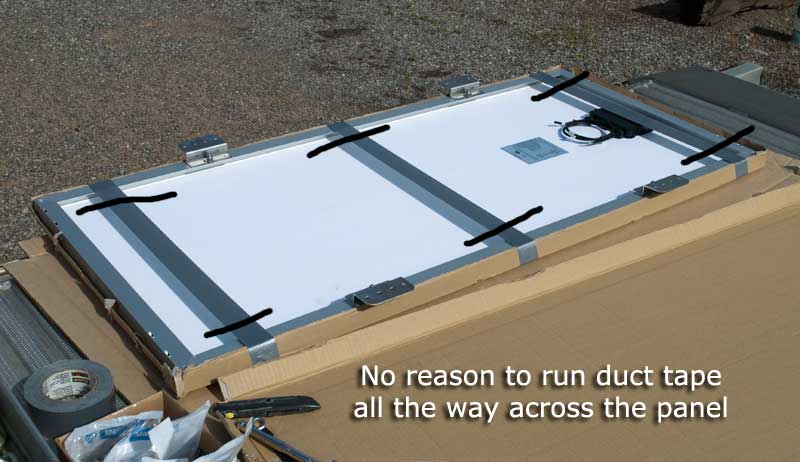
Here's where you use the cardboard the panels were packed in. Tape the cardboard to the face of the panel to a) protect it while you hoist it on the roof and b) keep the panel(s) from creating much voltage after they are mounted while you wire things up.
Okay, now your panels are ready for the roof! If you haven't already hauled your tools and supplies to the roof, now is a good time.
Page 1 - Introduction
Page 2 - Planning
Page 3 -This page
Page 4 - Installation - on the roof
Page 5 - Installation - inside the coach
Page 6 - Project wrap-up, final thoughts, panel performance