
 Jane and John's RV pages
Pull-out table project, page three
On with the pictures and notes
(Picture notes below the pictures)

Here I'm getting an idea of how functional the table dimensions are. I was debating over adding a fold-down leaf to increase the surface area but wanted to use the table for a while first. We are probably going to add a small leaf in the future. The table slides are rated for 100 pounds and are full-extension.

Ready for gluing. I cut the boards longer than final size to account for thickness planer snipe at the board ends but should have moved the end slots further inboard. Oh well.
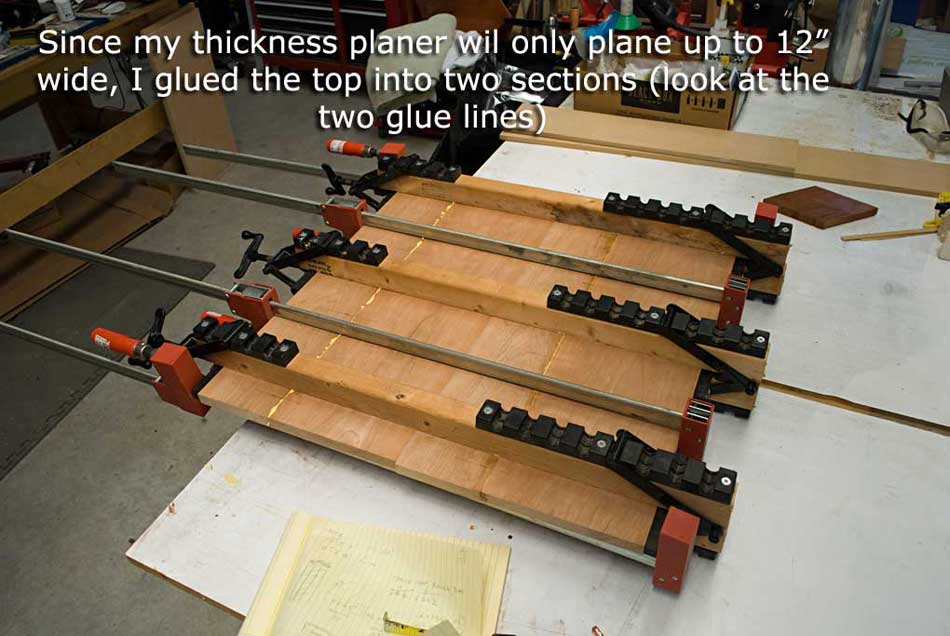
Nothing fancy going on here, just good woodworking practices. I used the planer/joiner to make a perfectly square edge for glue-up and used a bunch of clamps.

Tape makes for an easy glue cleanup.

Use a router to make a nice decorative edge on the table sides. Do NOT route the outside edge if you will be adding a leaf - you want the two edges to be flat.

Adding the side rails to the top. Use a drill press to make the screw hole the exact depth for the screw you are using. The table top is only 1/2" thick so you don't want to punch a hole through the top and ruin a lot of work. I found gluing the rails to the top was not necessary, the screws alone provide plenty of fastening power and allow a little wood movement.
>> Back to page two
>>
Forward to page four