
 Jane and John's RV pages
It's a dirty job, but John's up to the task
The Dometic SeaLand Concerto toilet gets replaced
Installation of the Thetford Classic, project wrap-up
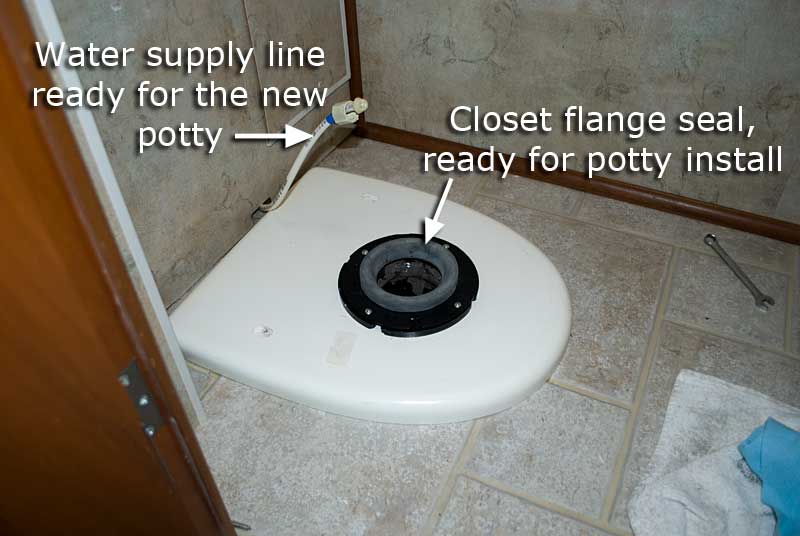
On page two we removed the old Concerto potty and installed the necessary spacer, now we're ready to the installation of the Aria Classic.
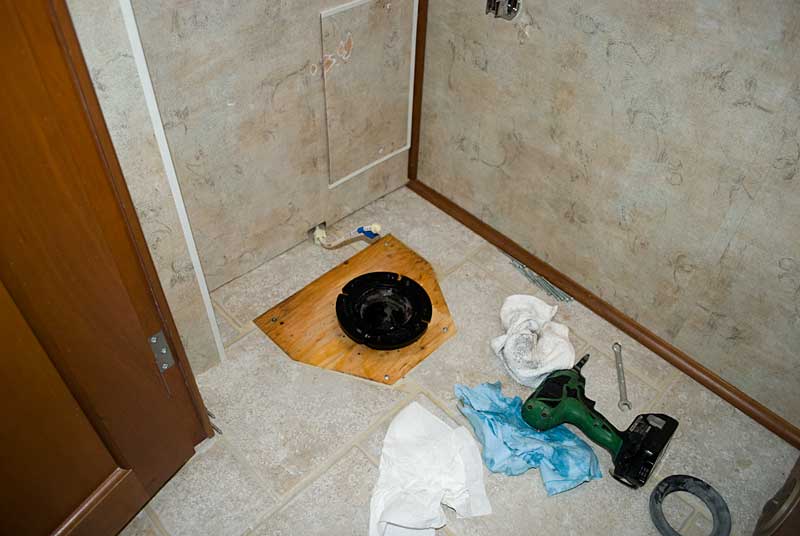
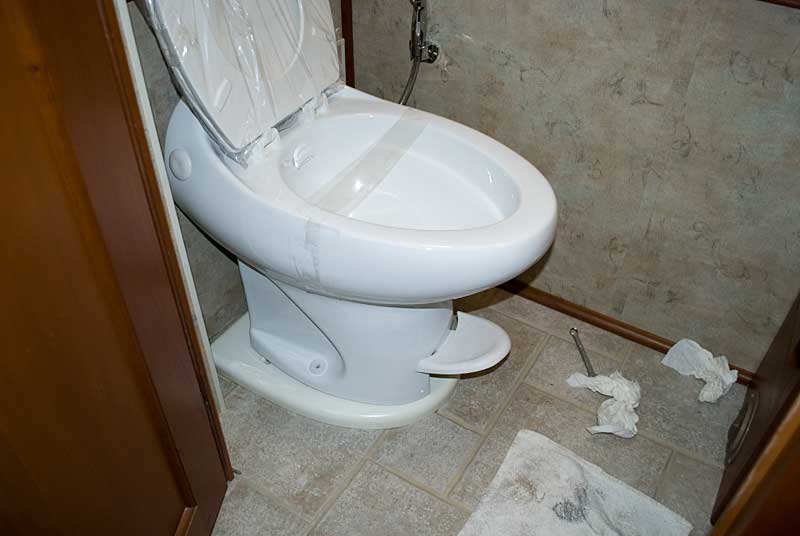
The above picture is included so you can see what lives under the Winnebago-supplied toilet platform. If we removed the platform, then the wood would show when the new potty was installed, also note when using the long lag screws to mount the new toilet, you will be screwing them into wood. It's not necessary to buy a special 3/16" carbide drill bit to drill into the ceramic tile.
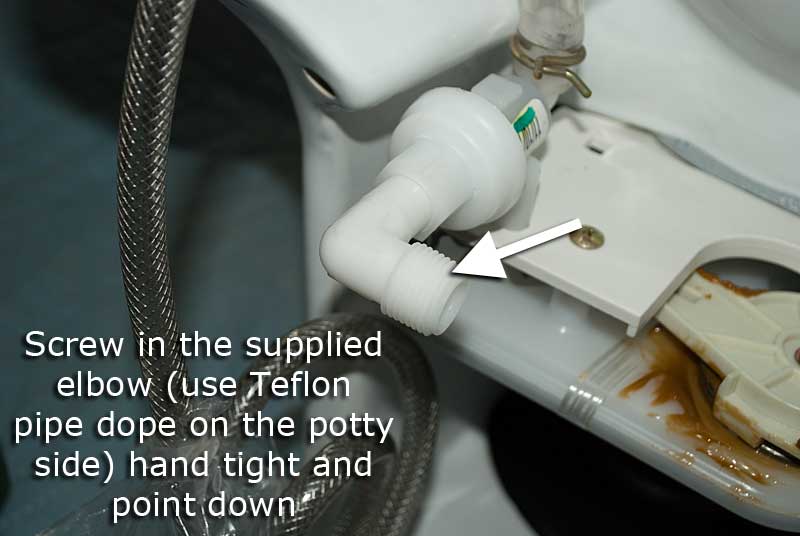
Let's look at the backside of the Thetford Aria Classic:
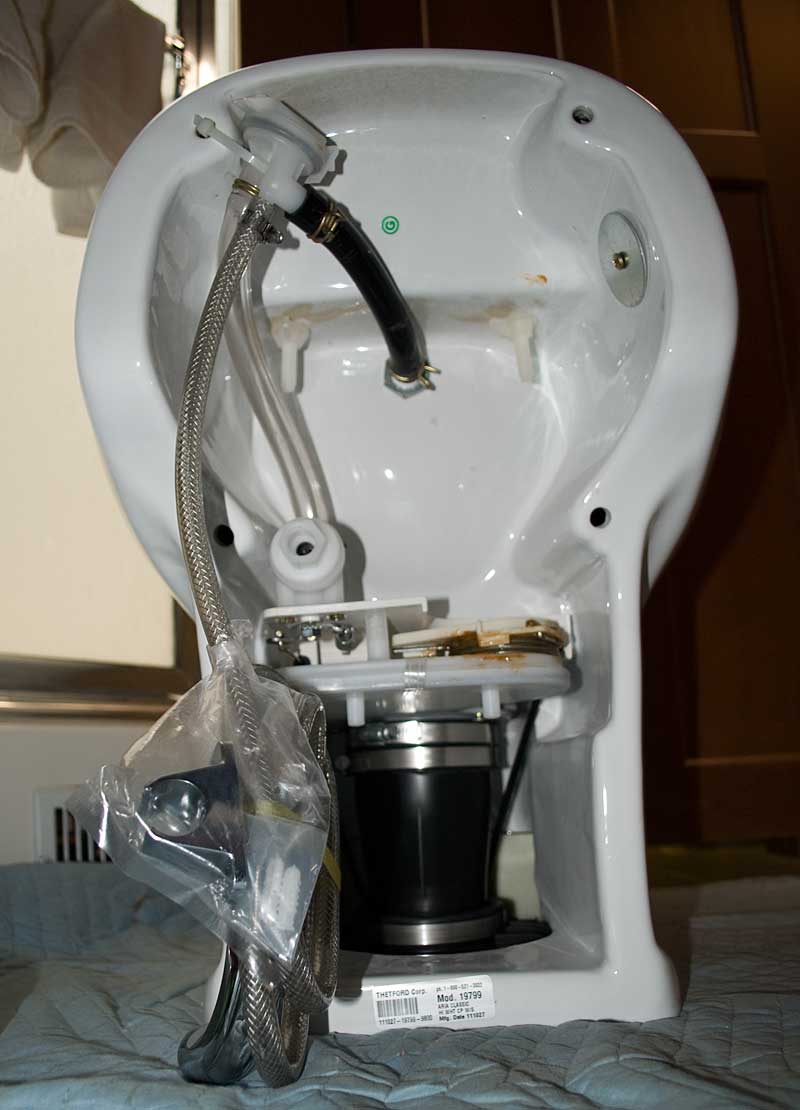
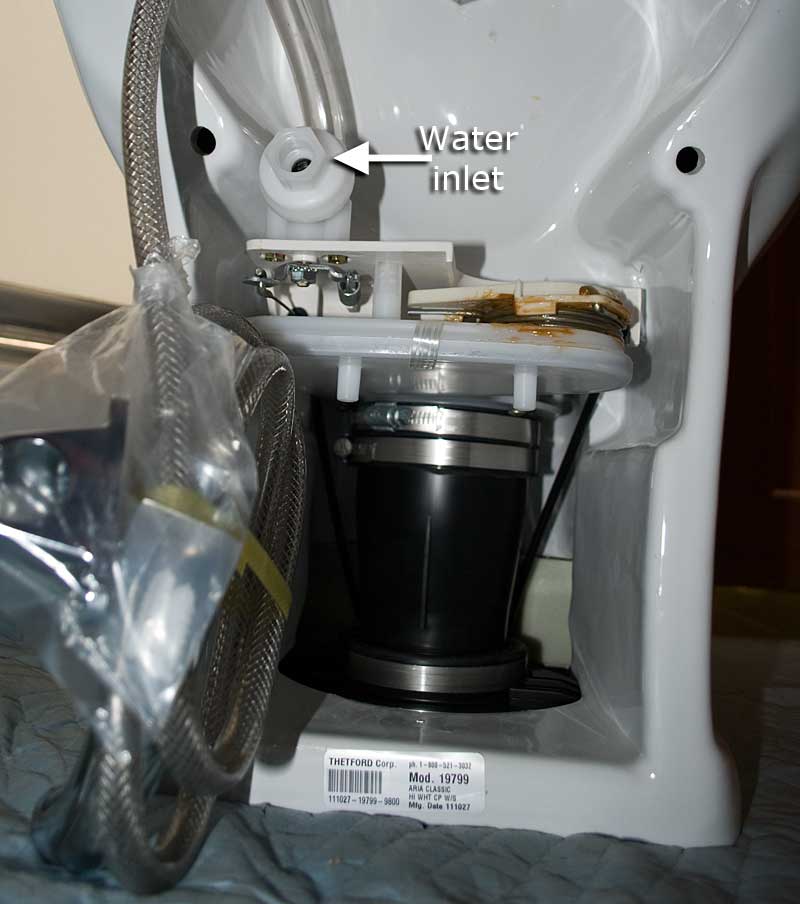
Find the included pipe elbow and use pipe dope or tape on the threads that screw into the potty water inlet, screw it in hand tight and point it down. I greatly prefer using Teflon pipe dope and not tape - I find it does a much better job of sealing threads than Teflon tape. With a thick layer of tape on plastic or nylon threads, it's actually possible to split/break the fitting.
Now you're ready to place the potty in position. Move it close to the wall while leaving enough room to get your hand and arm behind it. Now screw in the water supply fitting to the end of the elbow. It is NOT necessary to use pipe dope or tape on this end of the elbow. Screw the fitting in hand tight, turn on the water and check for leaks. If you are water-tight, turn the water off and drain water from the lines by opening up a nearby faucet.
Now it's time to place the Aria Classic into position; lift it up and place directly over the closet flange seal. Push the flush pedal down to expose the hole - double check that the potty opening is sitting over the seal and the seal is in proper position. Run your hand down the opening and feel the seal to make sure it isn't kinked or out of position.
If everything looks good with the potty position, make sure it is aligned the way you want it (perpendicular to the wall), use a 3/16" drill bit and drill the mounting hole closest to you. Using a 7/16" wrench or ratchet, screw the lag screw down to where it is just touching the washer underneath the head (you'll snug this up after you get the opposite side screwed down.) Drill the hole for the other side and install the lag screw. Snug it up somewhat, then snug up the other side.
Do not tighten these screws up too much, you could risk cracking the ceramic base. Time for a final test. Close the open faucet and turn the water back on and operate the potty and check for leaks again. If all is well, place the two decorative screw caps in position to hide the lag screws.
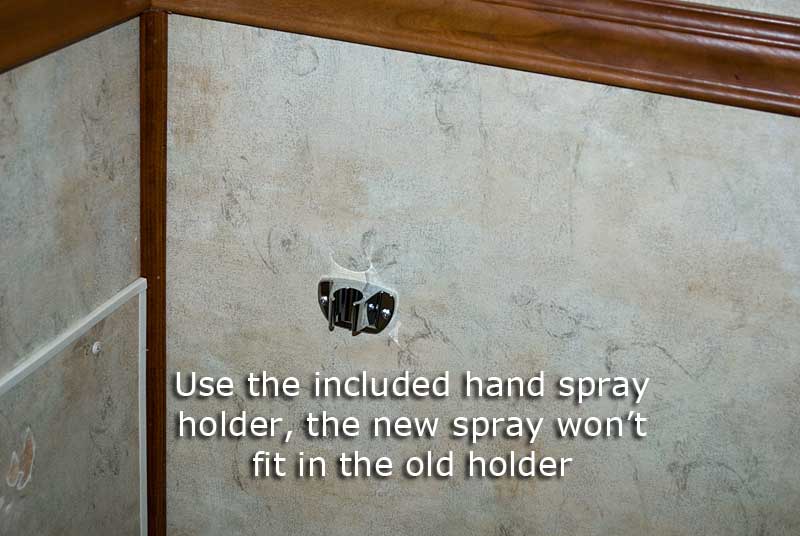
The last step is to remove the Concerto hand spray bracket and install the new one, unfortunately the new hand spray won't fit the old bracket.
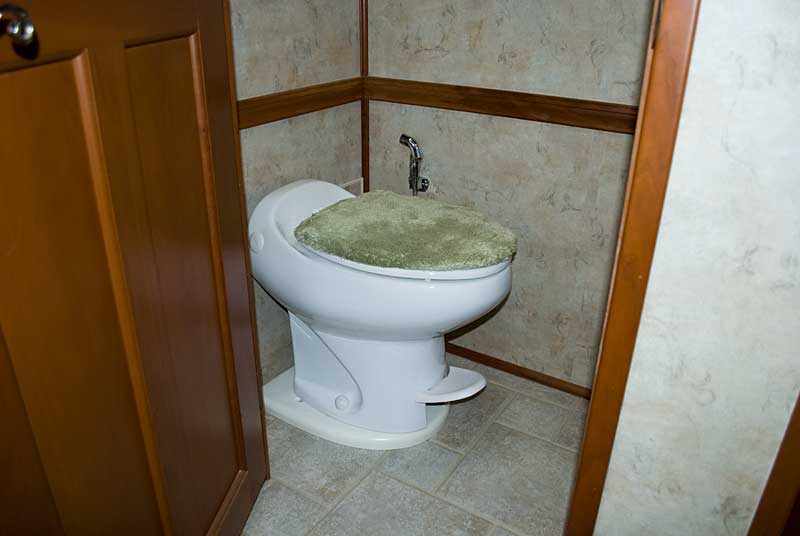
And we're finished! All that's left is to use some putty to cover up the old mounting holes at the rear of the platform.
--end--
Page 1 - introduction
Page 2 - removal of the Concerto, prep for the Aria Classic
Page 3 (this page) - installation of the Aria Classic, project wrap-up