
 Jane and John's Jeep & off-road pages
Portable step assist for Jane
My wife Jane has had just a bit of trouble getting a leg up into Rubi once in a while, usually it's no problem but if I stop at the wrong place on the trail, the usual reasonably moderate ingress can be much more difficult. While in Moab with the FMCA 4-Wheelers, we ran Poison Spider with trail leader Bob, I noticed the step assist he made for his wife and asked Bob about it. He made it when his wife was having some kind of physical problem and they just kept it on-board since it was so handy and easily stowed.
This looked like a fun fab project so I got busy. I didn't have any flat bar that narrow so I used 2" x 3/16" bar and as an improvement on Bob's step, I used round solid bar and not tube for the step.
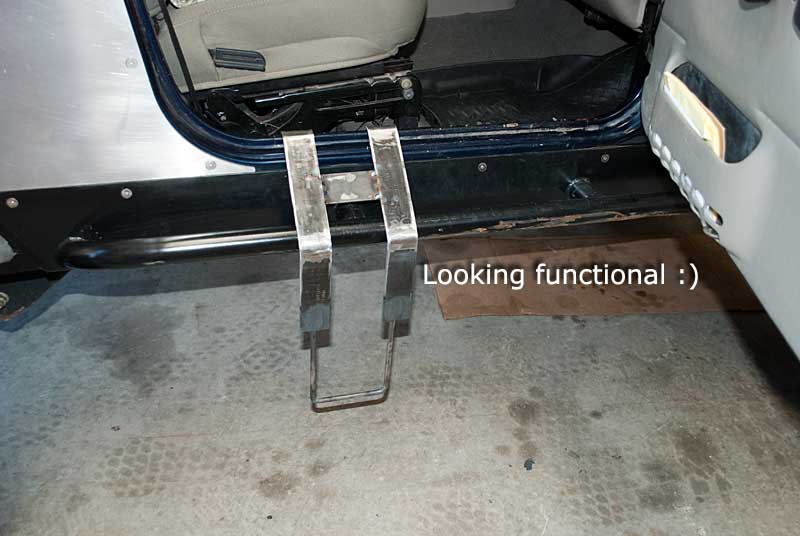
I used the acetylene torch to heat up the bend marks to almost white hot and very easily hand bent the bar into position using a coat hangar previously bent into position as a bend template. Surprisingly I got the bend mark wrong where the step contacts the round tube of the rock slider - the bend is outside of the tube. Oh well, this would be considered a prototype in any product development. Even though that bend is a little outboard of where I would like, it is 100% functional .
If I made another one of these steps, I would try 1"x 3/16" flat bar - that would save some weight and make it a little more portable, however the 2" bar makes for an extremely steady platform.
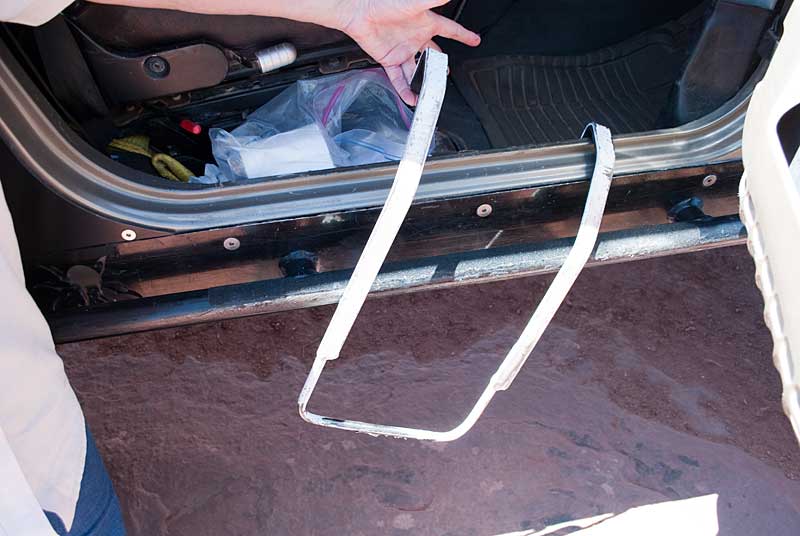
Here's the inspiration for my version of the step
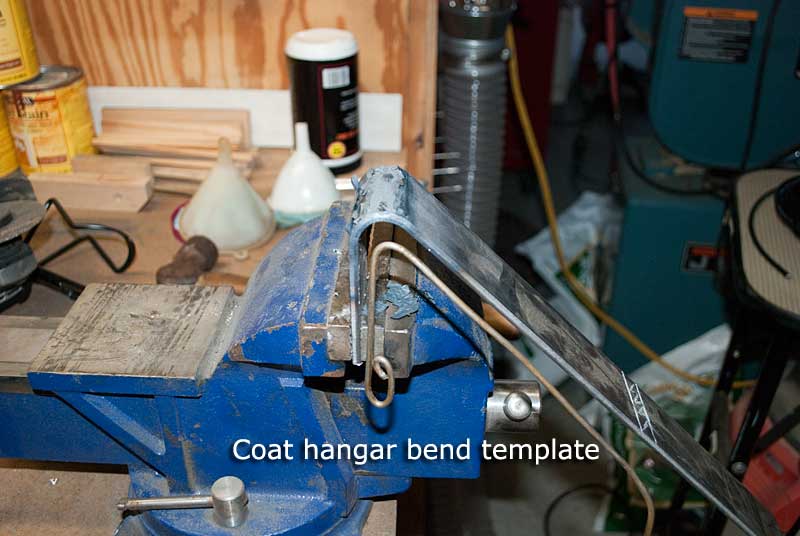
Use a coat hangar to make a bend template - fit it to your door rocker panel/door jamb area (or where ever). Mark your bends on the steel bar (I used mild steel) with marking chalk and heat up the marked area with an acetylene torch until the steel is almost white hot, at this temperature the steel will easily bend by hand. (Of course you will be using pliers and heavy gloves!) Make your bend and compare to your coat hangar template - you will have a few seconds to tweak your bend angle if required before the steel cools down.
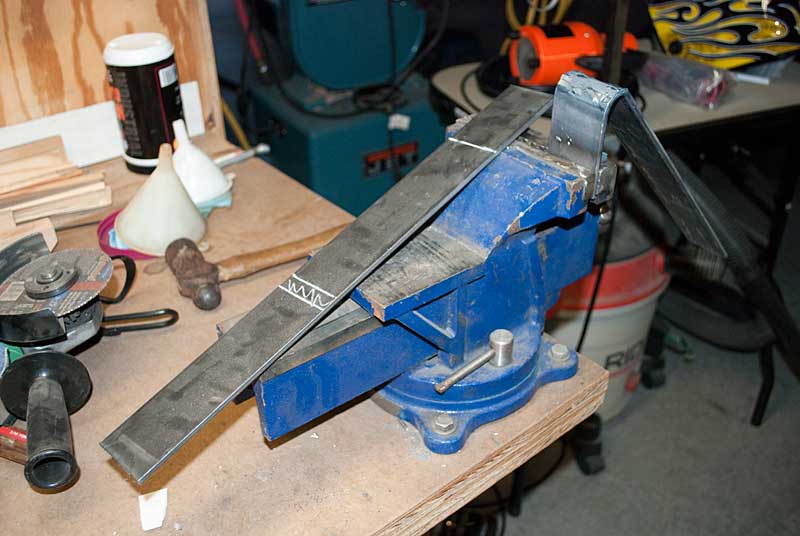
Another view of the bar marked for bending and the first bend. A good vise is one of the most valuable tools in any shop.
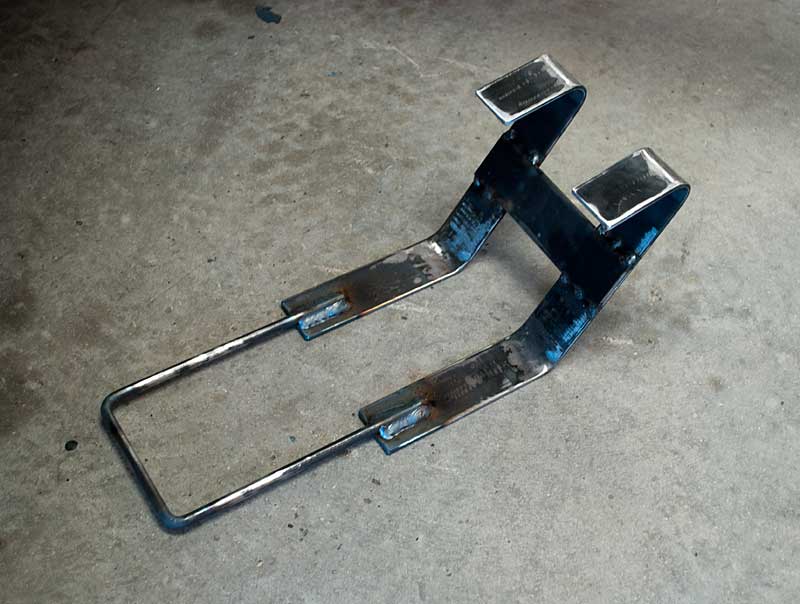
Here's the step welded up and ready for a test. Note that I haven't provided any dimensions since every application will be different based on the tire size, size of the foot, etc. For the width of the actual step (where the foot will be placed) use your wife's foot (or girlfriend) for sizing.
The bends in the middle where it contacts the slider tube are off somewhat but it's not a functional issue.
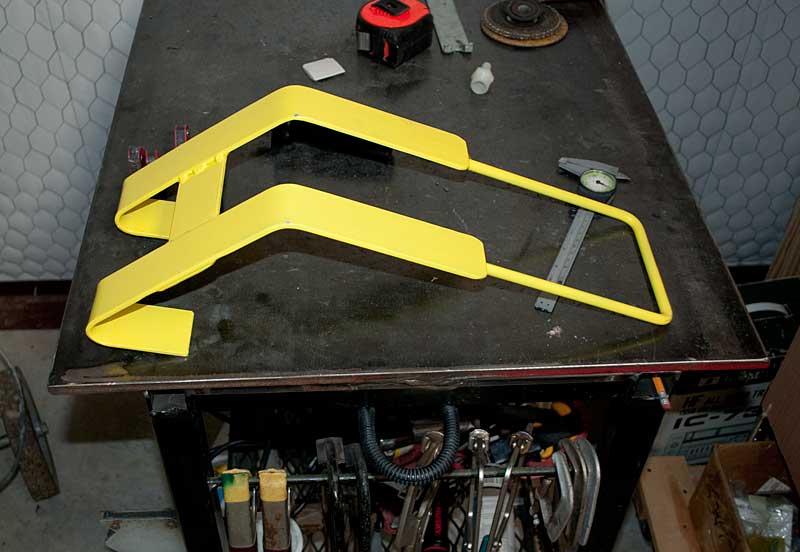
Here's the finished project on my welding bench :-) It's been a hit and Jane uses it quite a bit, especially late in the day when she's tired.
--end--